Rationale
This project is the logical progression of PixelTime and attempts to reduce the amount of manual labor to an absolute minimum. This also minimizes the build time whilst removing the extra complexity of building your own case. With all components on the table, it took me about two hours to assemble the entire display.In terms of functionality, I created a new display library PxMatrix that is more capable than the original P10_Matrix library. In now supports 3bit color per RGB channel and can handle animations with minimal flicker. This opened up the possibility to create a nice little 32x16 picture frame for pixel animations.
Tools
In order to create all the components for this display you will need (access to) the following tools:- Laser cutter
- 3D printer with black filament
- A3 laser printer
- Metal file
- Wire stripper
- Soldering iron
- Screwdriver
- Scissors
Make the display
So let's get started! This image shows all the parts that you will make ... I will got through the necessary steps one-by-one.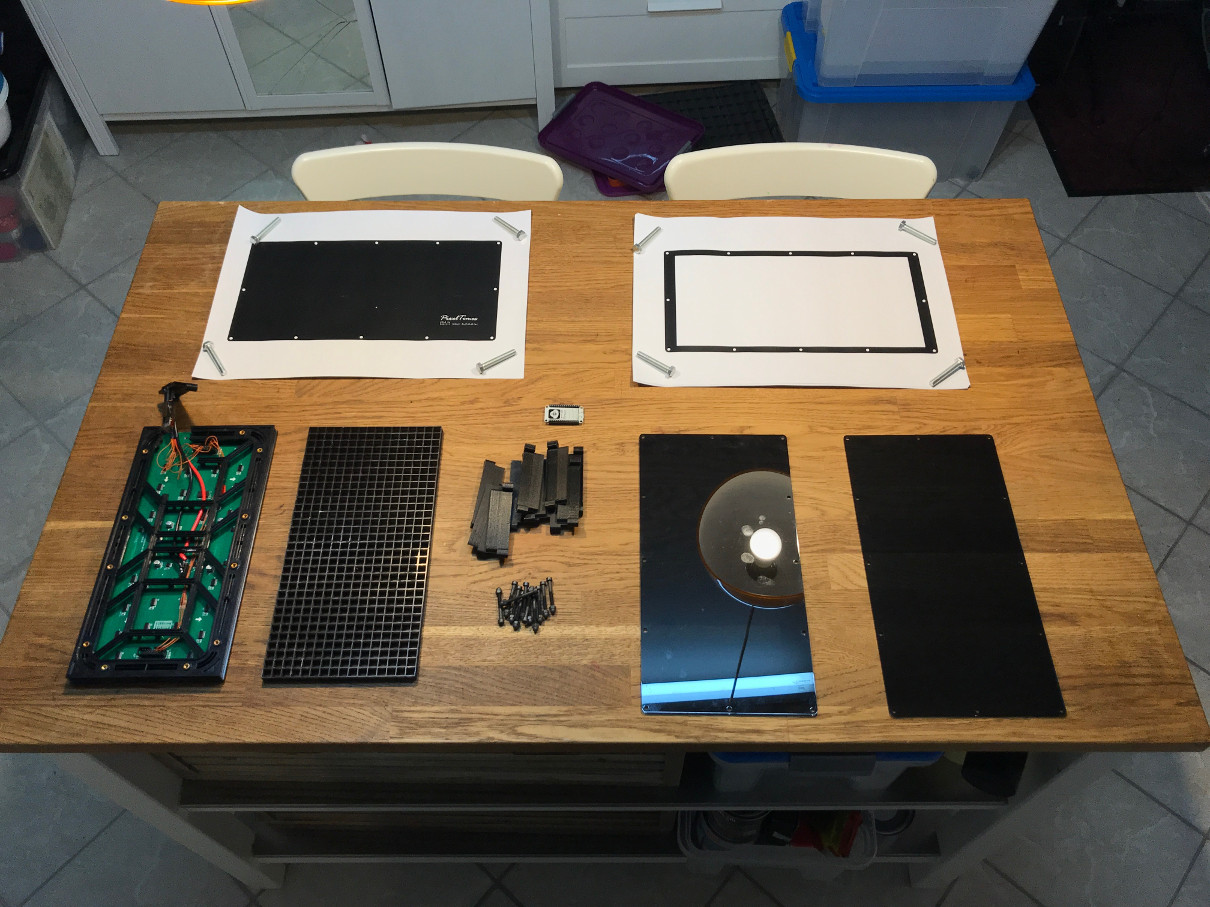
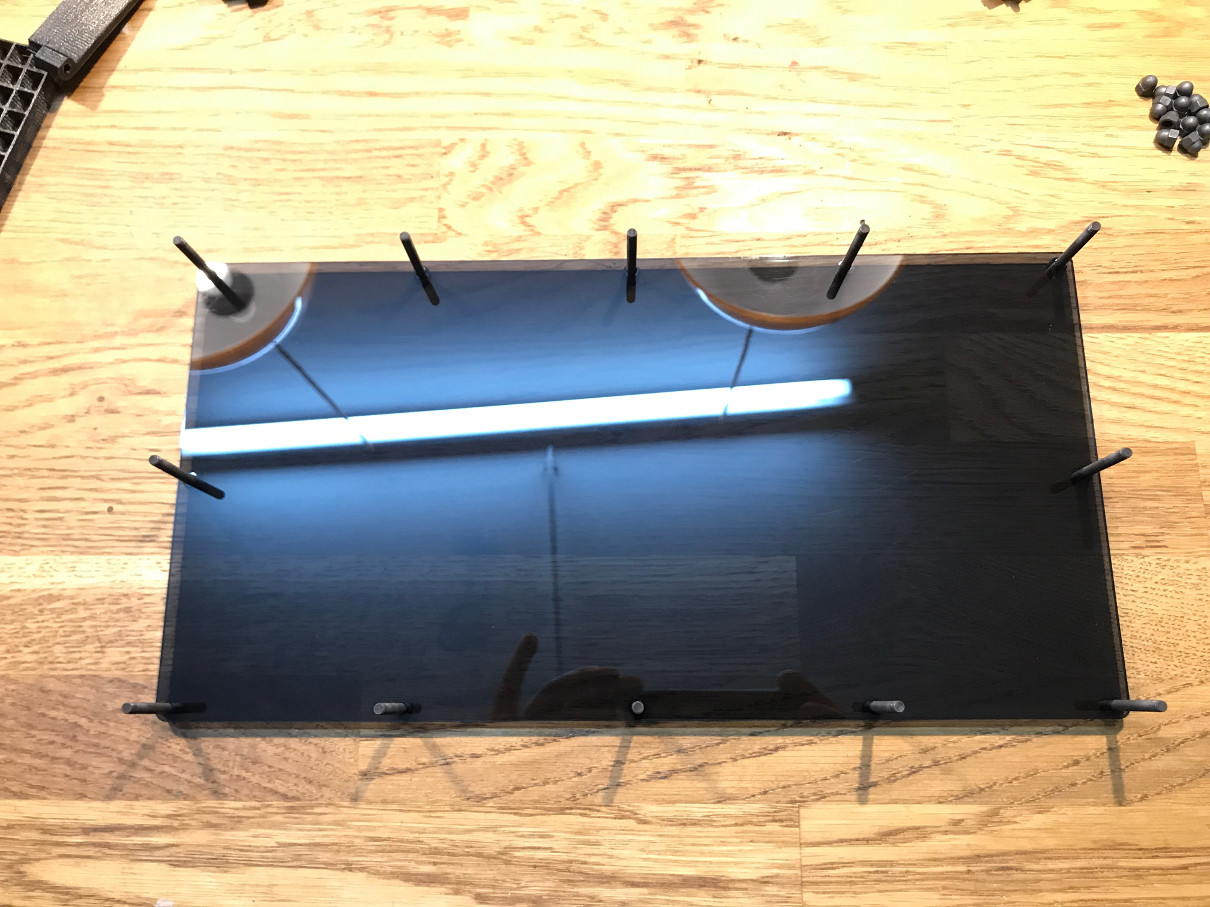
Front and back-plate
These are two identical laser-cut parts. I used 3mm acrylics with 50% gray. The corresponding file "led_clock2_cut" is available here.NodeMCU and panel mount
If your NodeMCU comes with pre-soldered pin-headers, cut them off above the spacers and use a file to grind them level. Next, 3D print my NodeMCU panel mount available here. The panel mount integrates the NodeMCU into the frame and lets you push the buttons from the outside.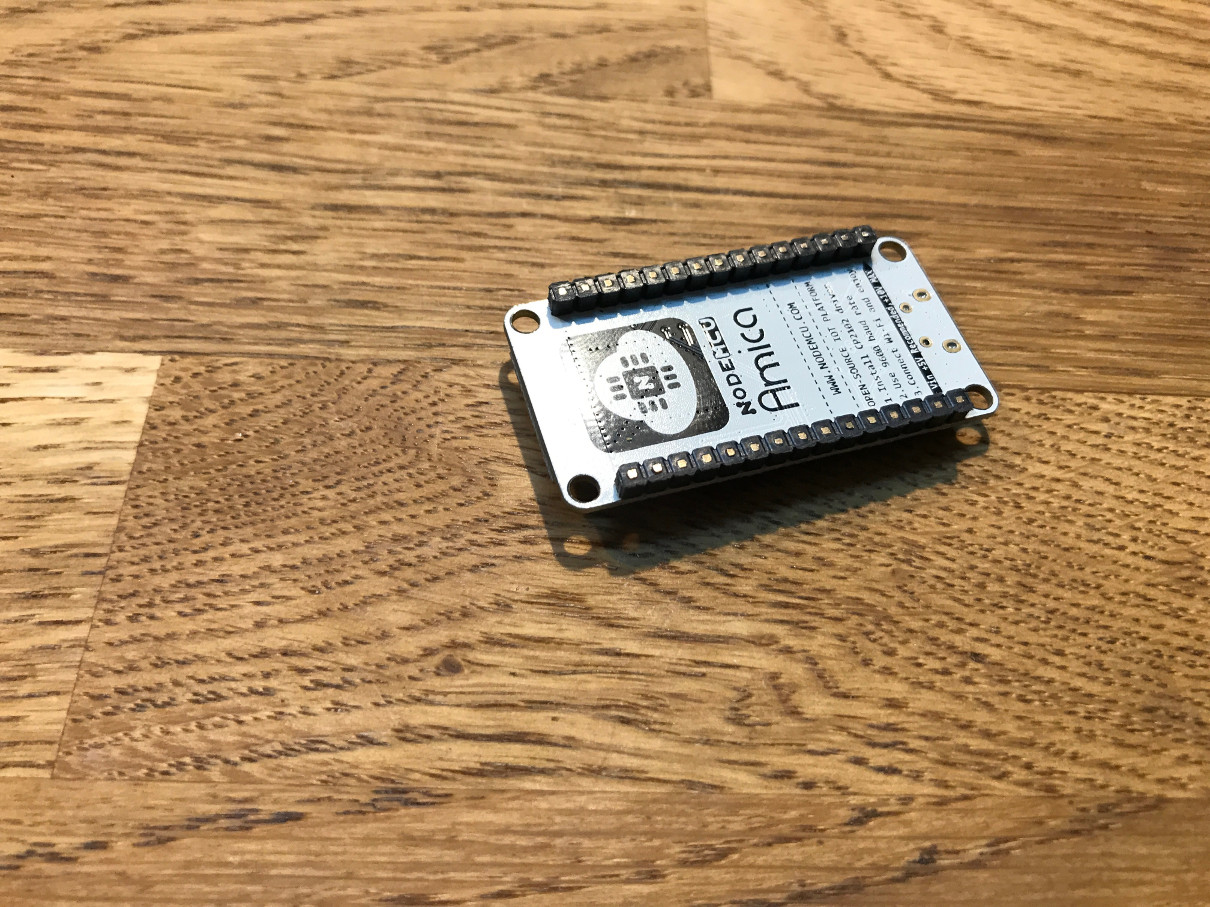
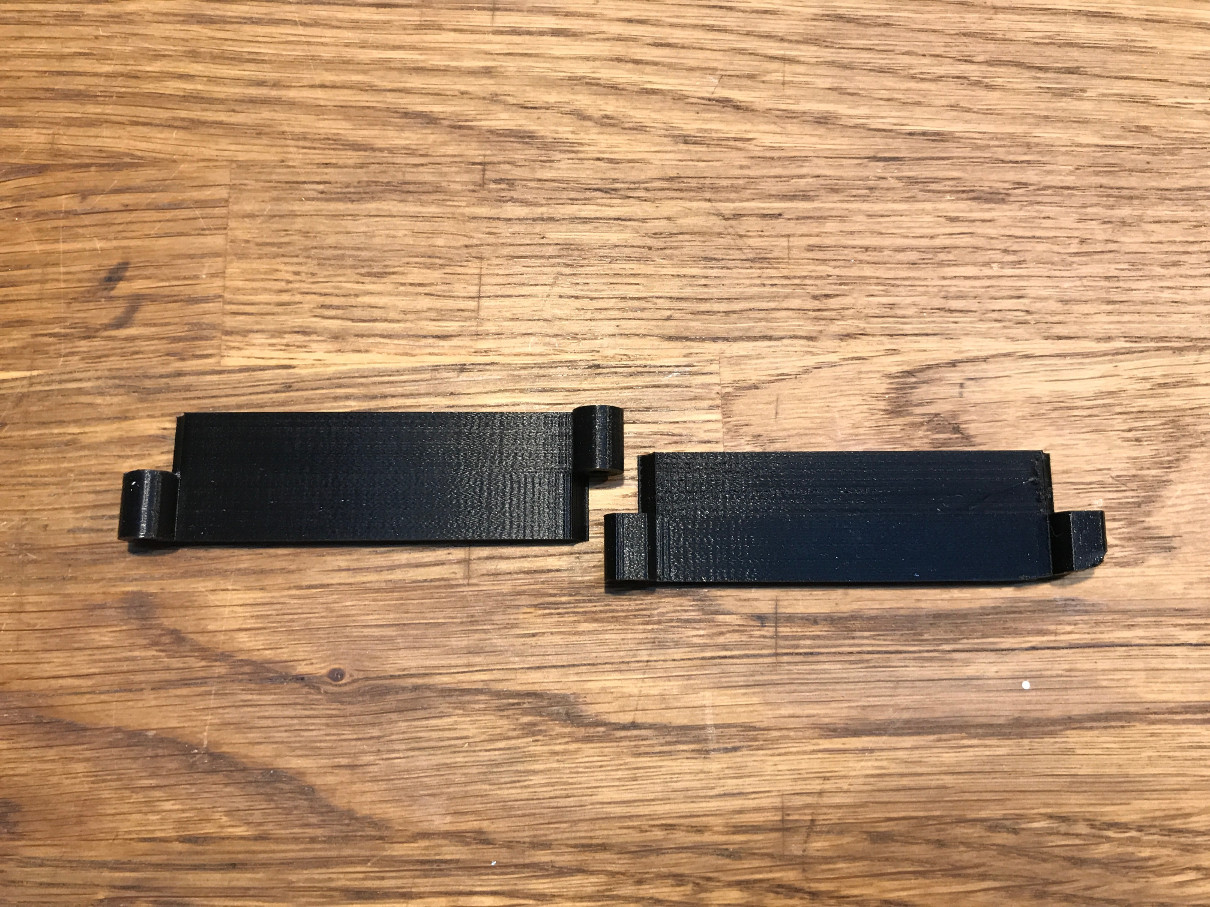
Frame segments
The design files for the frame segments can be downloaded here. You will need to print 11 standard ones and one with a cutout for the NodeMCU panel mount. The segments form a series of chain-links that are sandwiched between the front- and back-plate.
Prepare the LED matrix
Connect the display to the NodeMCU as described here. Also cut the frame of the display in the bottom left corner to make space for the NodeMCU. Then install the NodeMCU into the NodeMCU panel mount and screw it to the cut-out frame segment.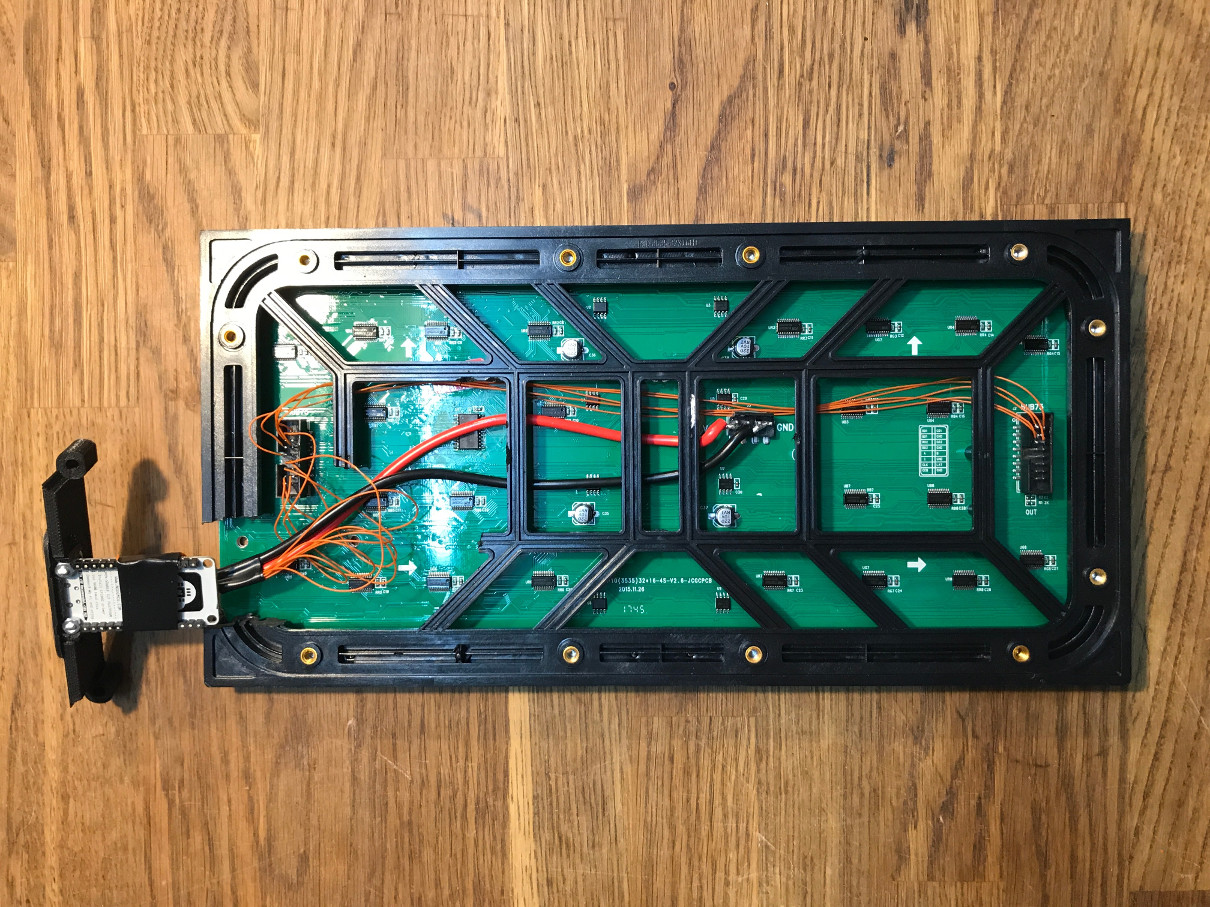
LED matrix separator grid
Print the 16x16 grid from here two times and glue it together (super glue works fine) to form one 32x16 grid.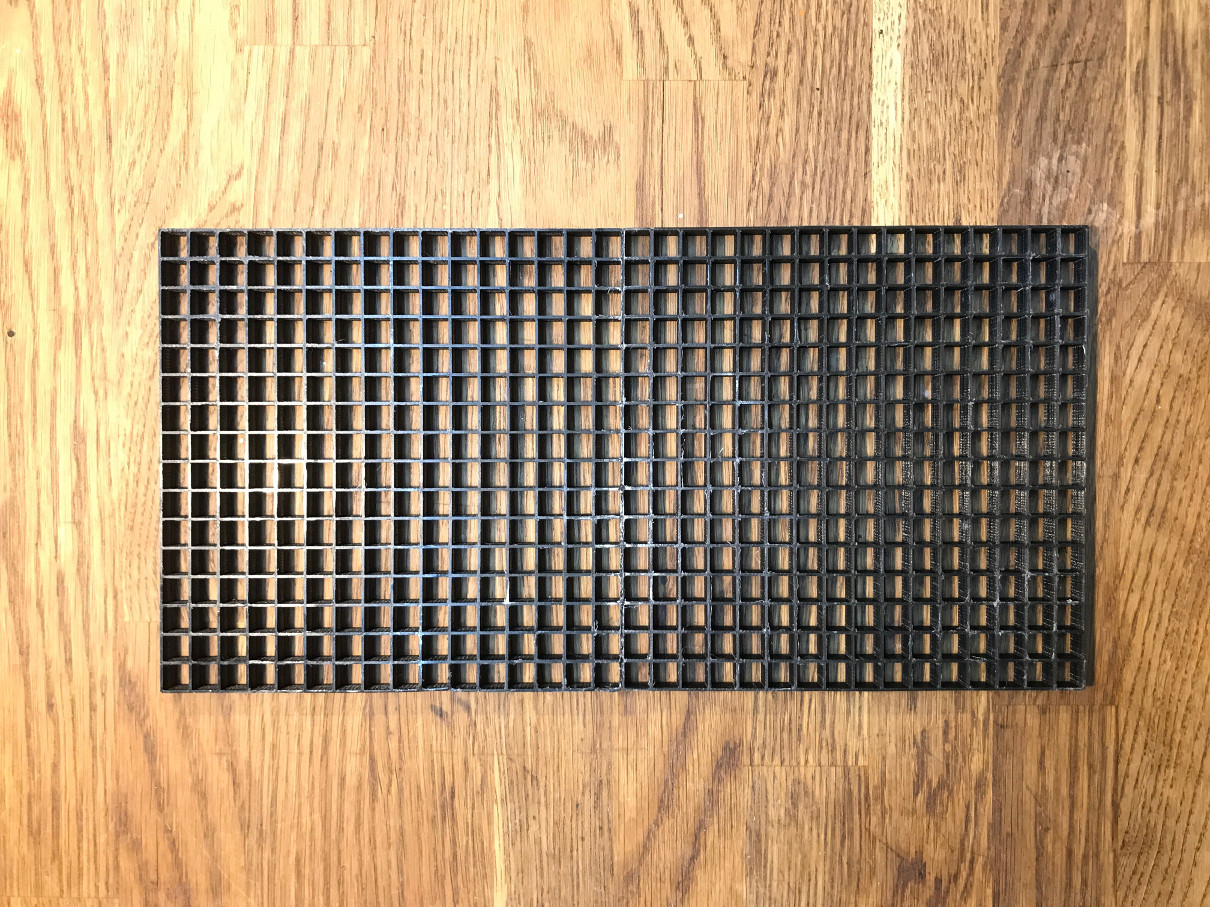
Front and back paper-screen
(Modify) and print the “led_clock_back” and “led_clock_diff” from here and cut them out.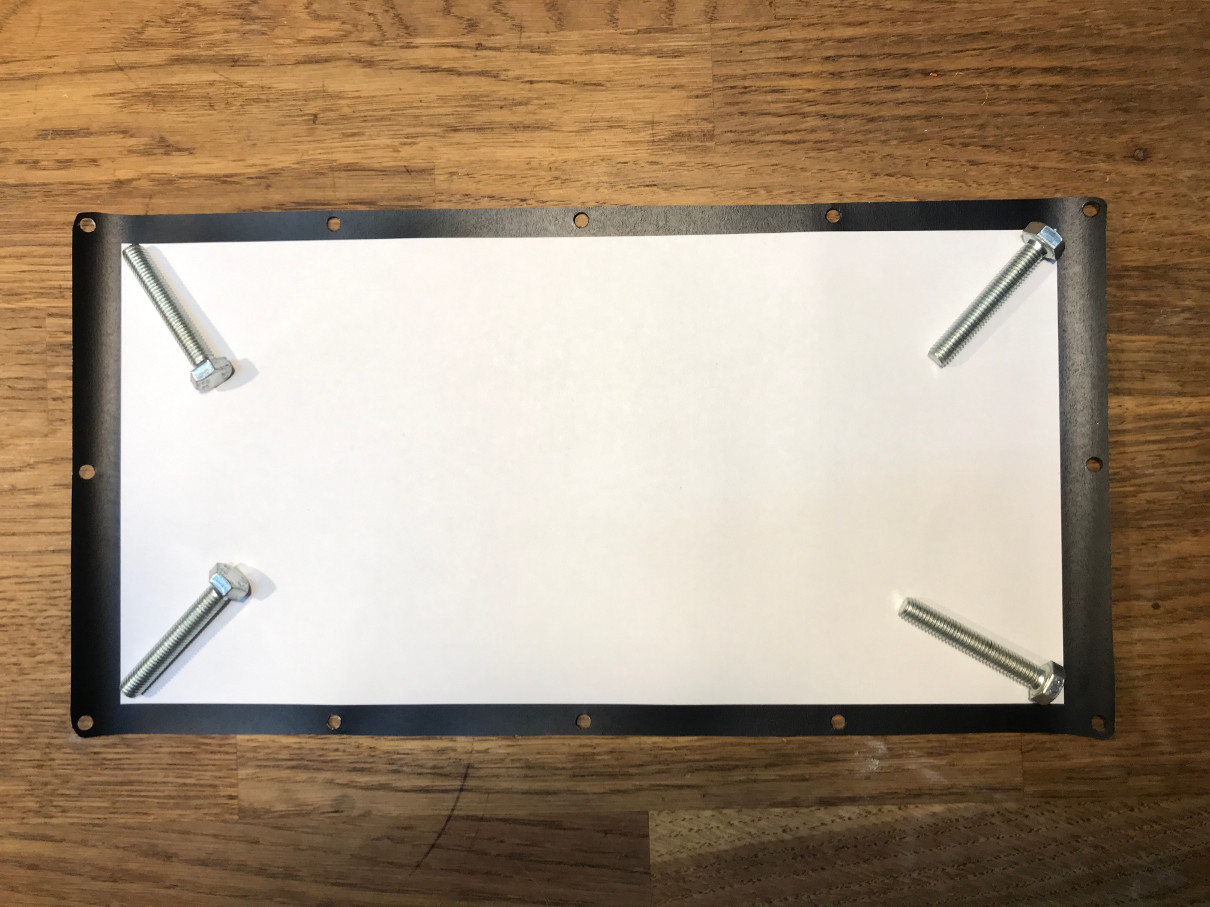
Assembly
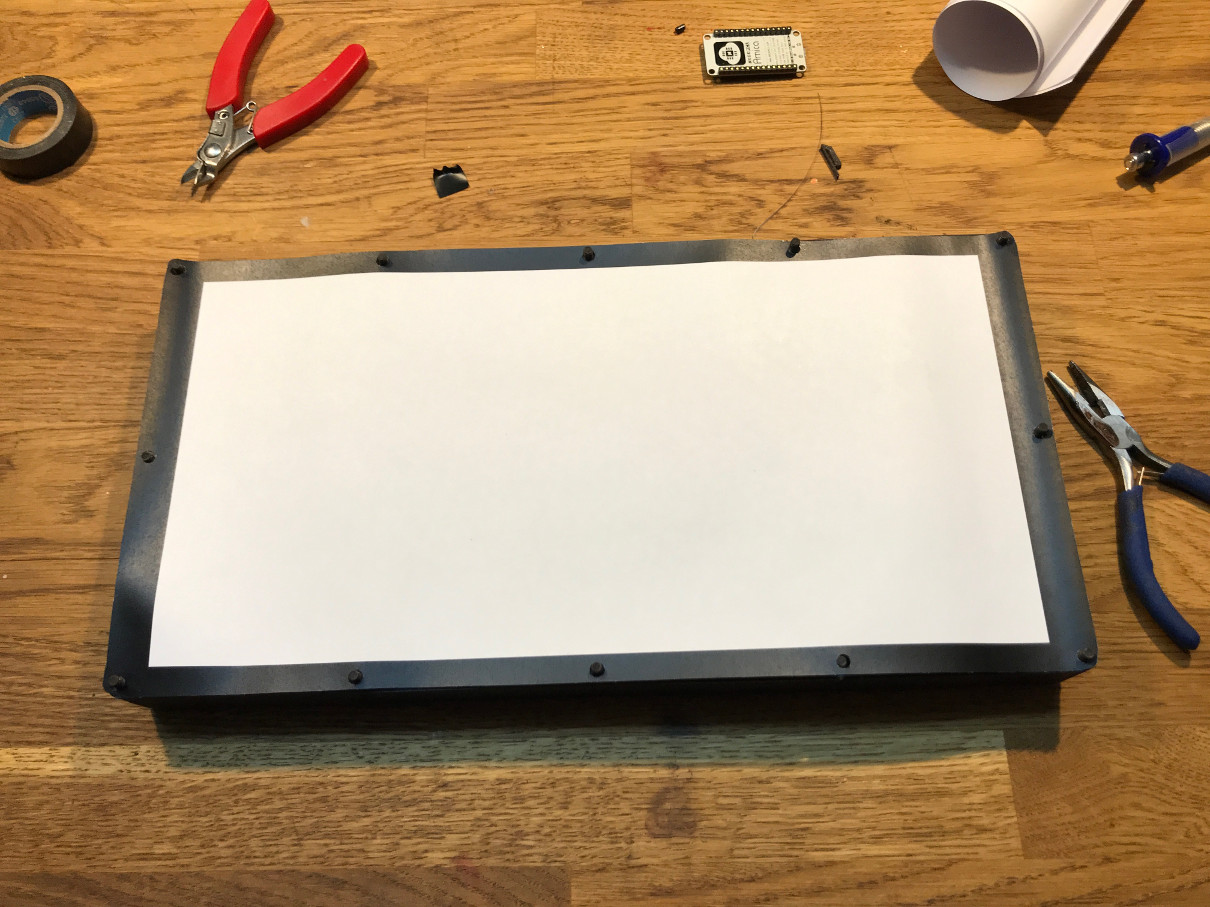
We will start from the back and build the display up step-by-step.First, stick all screws through the first piece of acrylic and put it screw-heads down on the table.
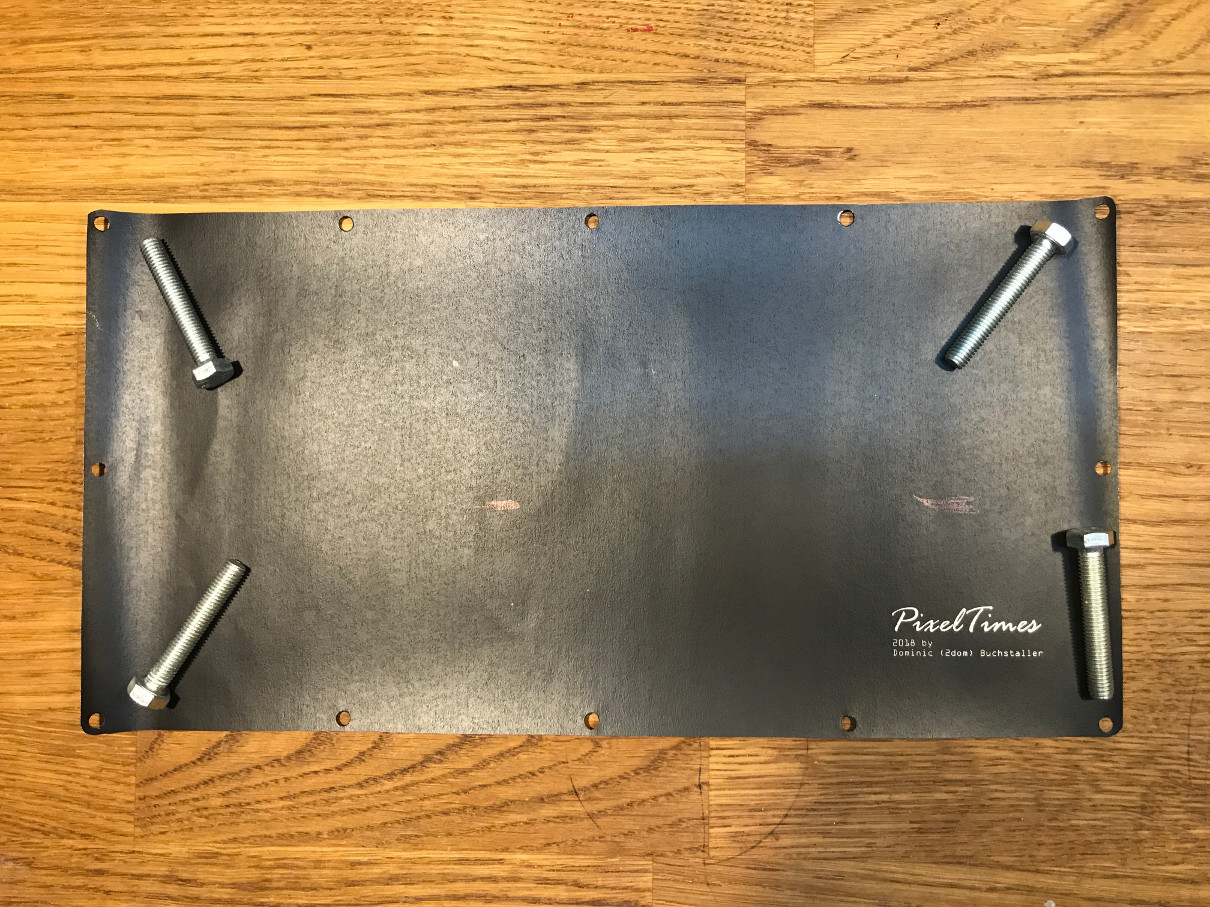
 Then install the paper-screen (backside - “led_clock_back”) where the print side faces downwards.
 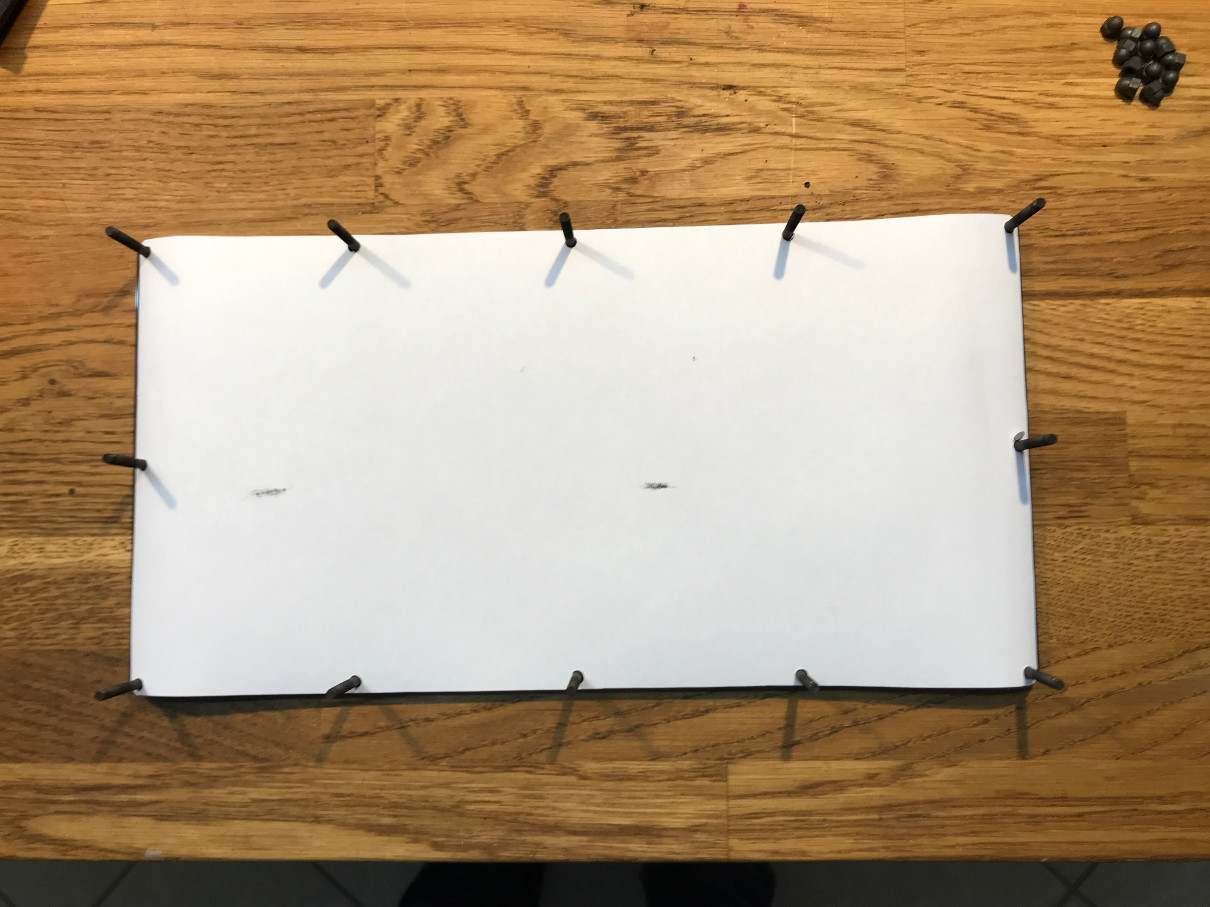 Next, we install all the frame segments by placing them on the screws one-by-one. Make sure that you leave a gap at the bottom right where the NodeMCU panel mount will live. (Note that you will have to follow the correct up-down sequence of the segments so it will fit).
 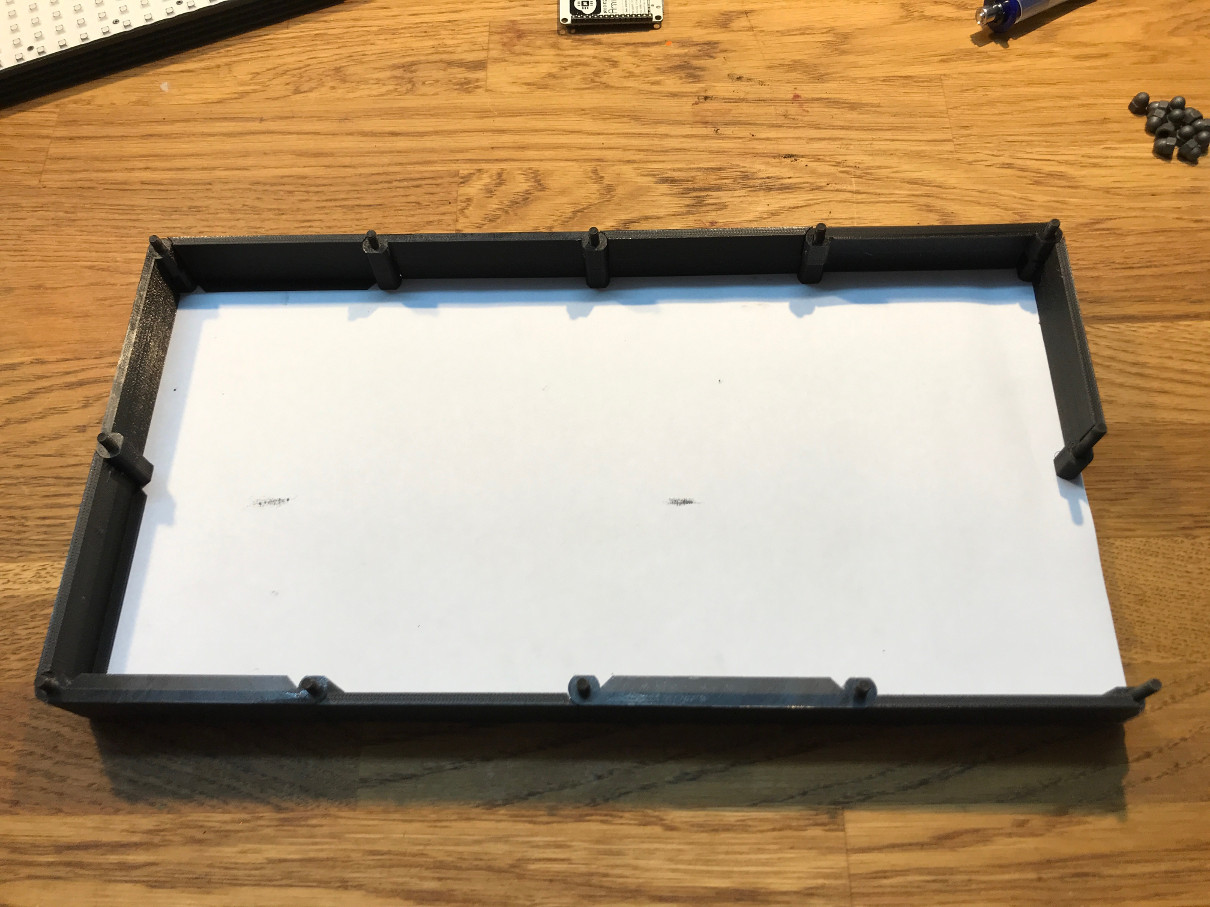 Now place the panel in the frame and install the NodeMCU panel mount.
 You can now place the separator grid on top and make sure everything fits ok.
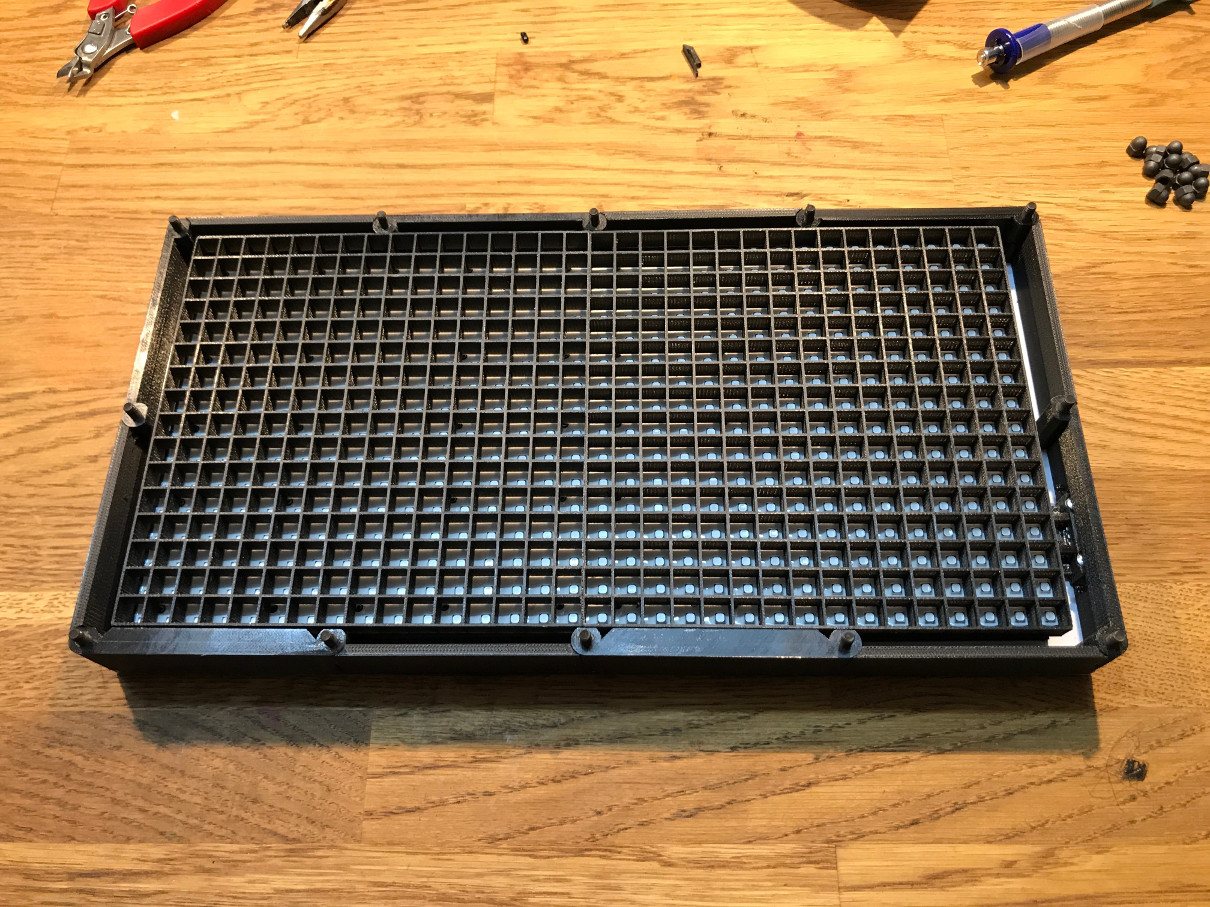 If it does, fix the separator grid to the matrix using 4 pieces of PVC tape around the corners.
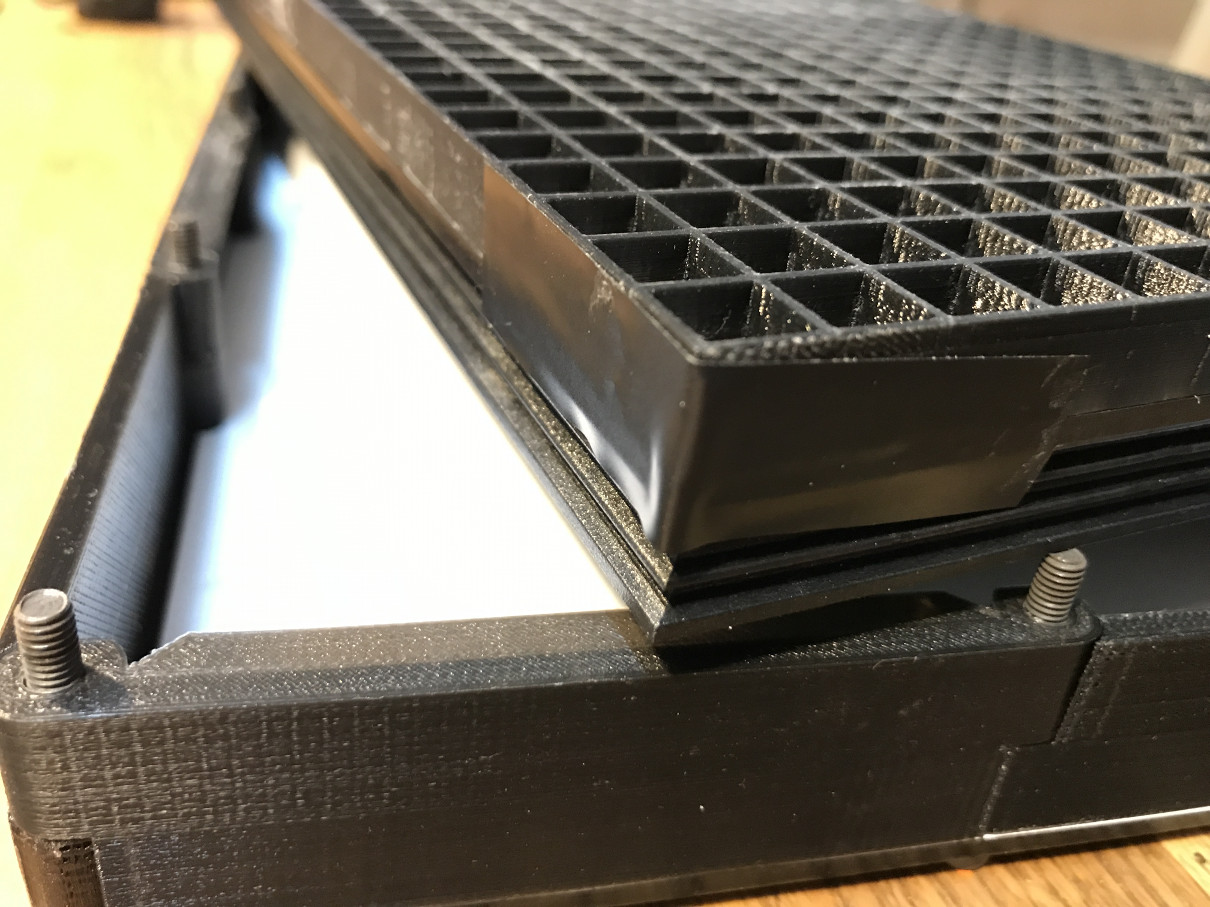 In order to center the grid and matrix within the frame I wedged a few pieces of anti-static foam in between.
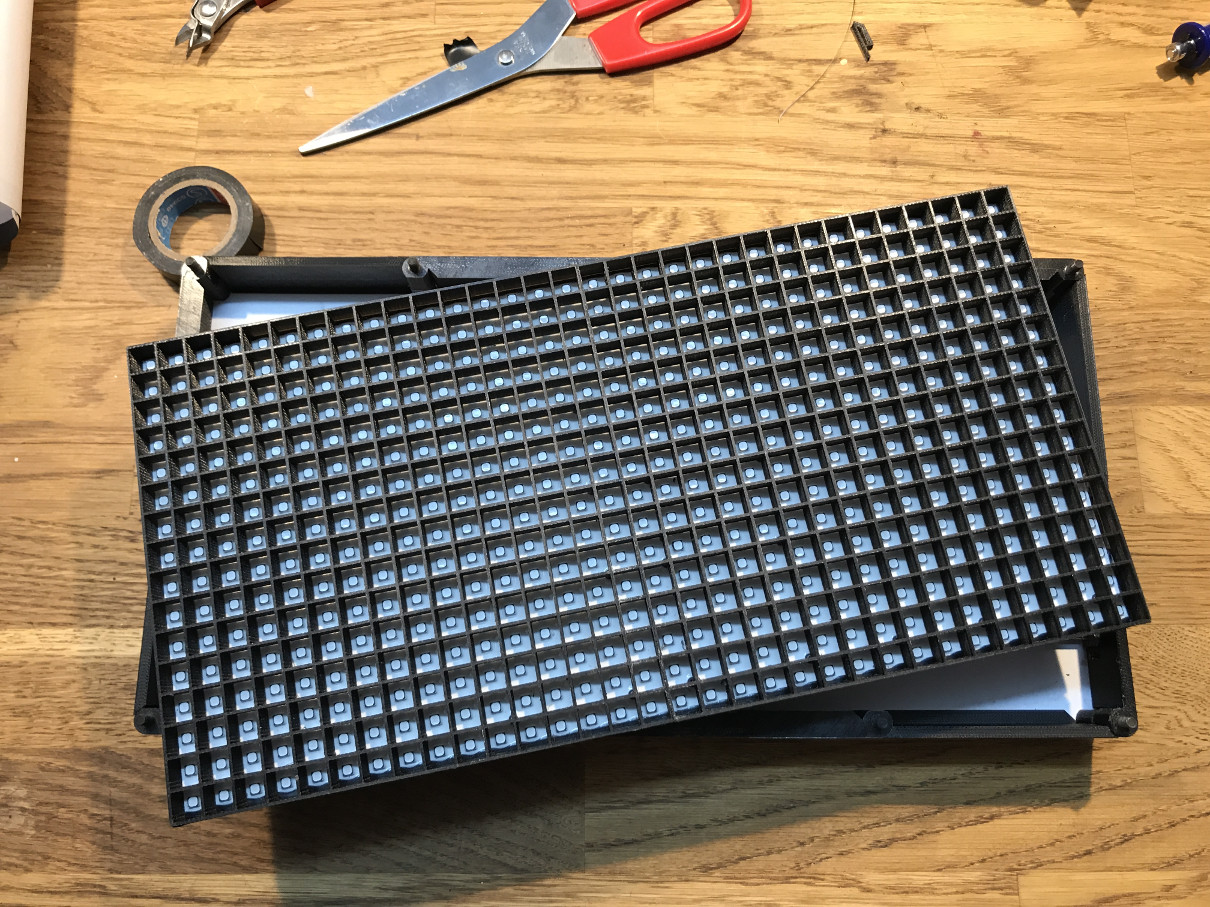
 Finally place the 2nd piece of acrylics on top.
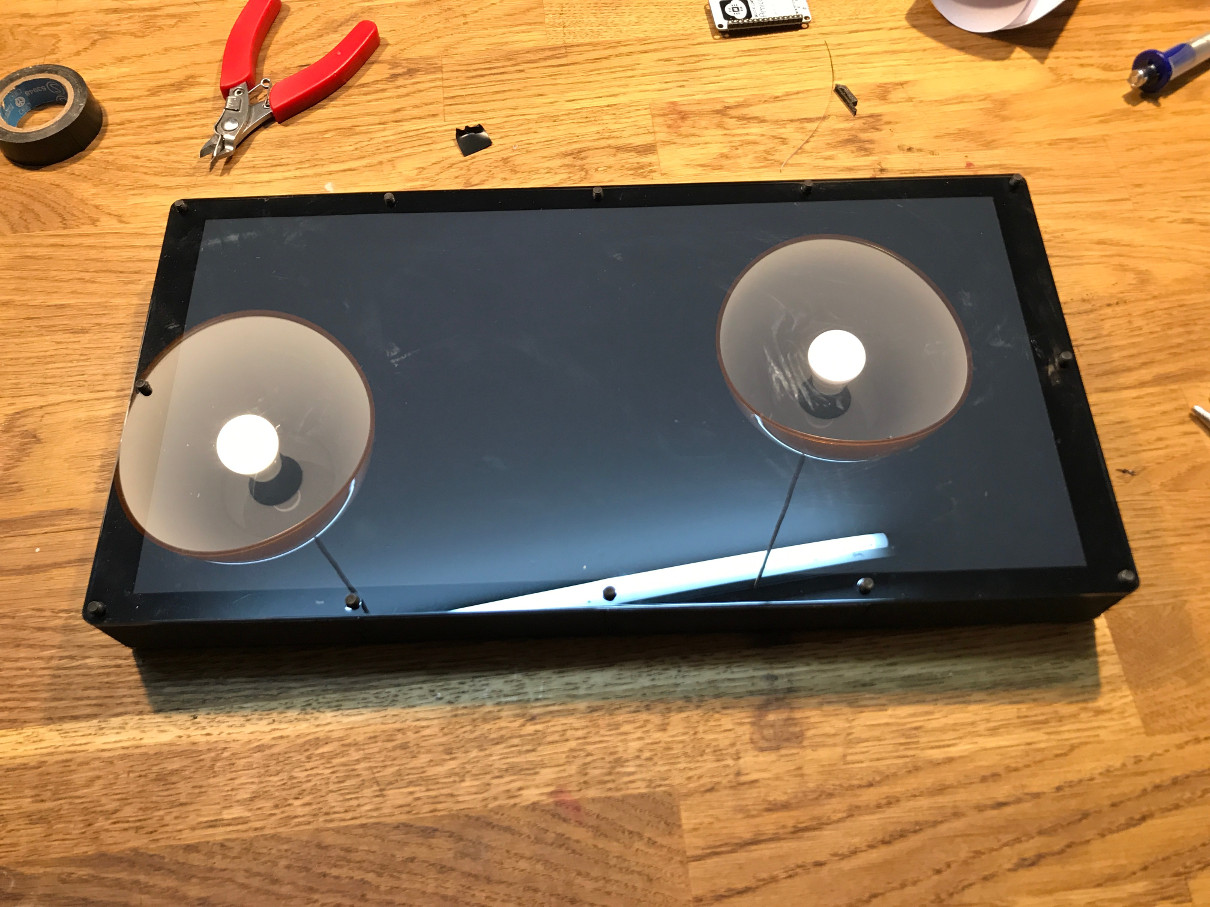 Fasten all screws with the corresponding nuts and voila … display done.
It should look something like this:
Fasten all screws with the corresponding nuts and voila … display done.
It should look something like this: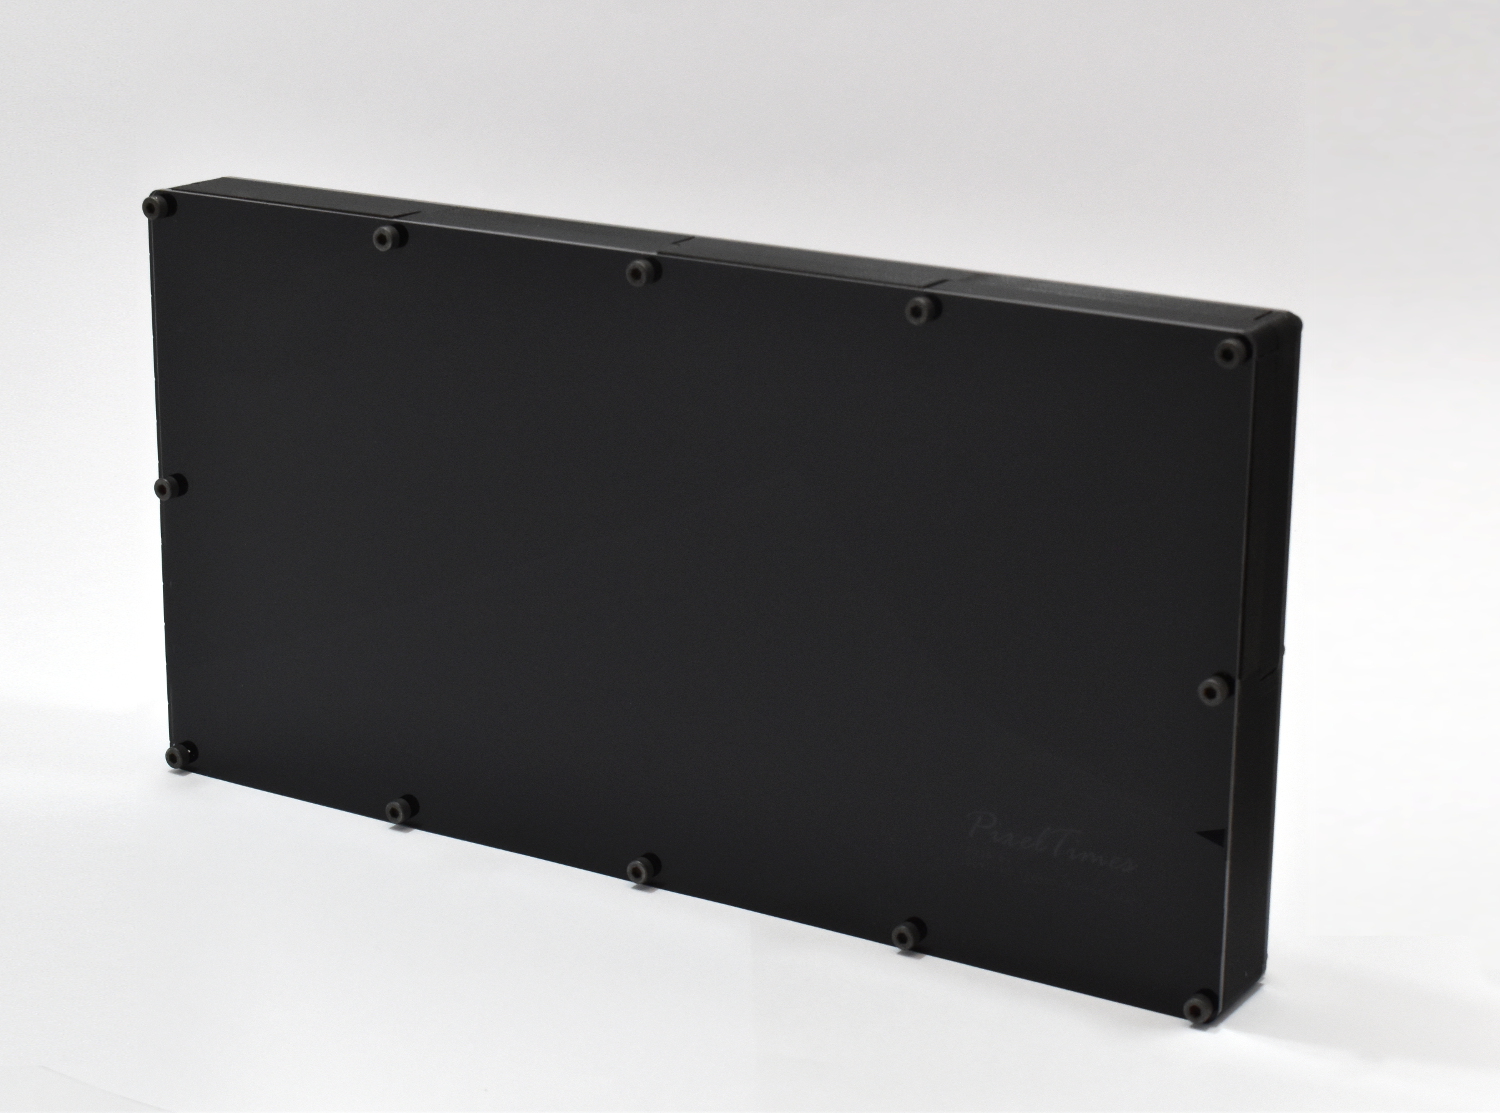

Software
To get the display to work you will need to perform the following steps:- Install Arduino
- Install ESP8266 core for Arduino
- Download the PxMatrix library and move it to your libraries folder (connect your LED matrix as described on the library web-page).
- Connect your ESP8266/NodeMCU to your computer
- Compile PixelTimes.ino and flash it to ESP8266/NodeMCU


 Eboy, the artists behind the girl on the beach and the shark animations, generously gave me permission to use them for PixelTimes. Their collections is simply awesome and goes far beyond 32x16 animations (see Eboy db) and they sell robots too!
If your are interested in buying an animated picture-frame rather than making one yourself, Eboy are also responsible for all the cool animations that come with GameFrame.
Create animations
If you would like to create your own animations, you can do so using any gif file as the source. Once you have a bunch gifs, download the following two scripts: image_to_array.sh and create_progmem.py and put them in the same directory. The former will convert and scale the .gif files to .rgb files containing raw 32x16 image data. The latter will then create convert all .rgb files to the anim_data.h required by PixelTimes.ino.So once you executed both scripts, simply copy the resulting anim_data.h in the folder with PixelTimes.ino. The final step is to compile the new firmware and flash it to the NodeMCU.
Congratulations! You made it all the way through - enjoy your PixelTimes!
Merge with PixelTime
Since the weather information from PixelTime is still somewhat useful I decided to retain that functionality. You can now switch between animations and weather display using the PRGM switch on the ESP8266/NodeMCU (e.g. exposed via the NodeMCU panel mount).Bill of materials
- P10 LED Matrix (Aliexpress) – 15 EUR
- NodeMCU ESP8266 – 3 EUR
- A3 paper prints - free
- Acrylics – 20 EUR
- 3D prints – 3 EUR (plastics)
- 2A USB charger and 2m cable (ebay) – 8 EUR
- M4x35mm screws and nuts – 5 EUR
- TOTAL: 54 EUR